
INTRO
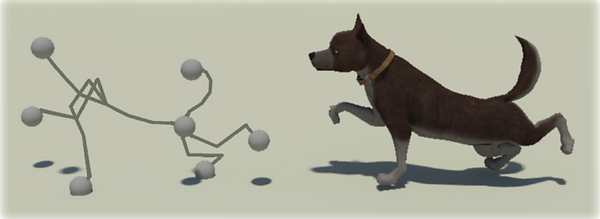
In its simplest form, 3D rigging is the process of creating a skeleton for a 3D model so it can move. Most commonly, characters are rigged before they are animated because if a character model doesn't have a rig, they can't be deformed and moved around. They are stuck in whichever pose the modeler decided to put them in.
A character model on its own can't be animated.
For animation, a static 3d model needs to be bent, twisted, expanded etc.
This deformation happens through a variety of deformers.


Rigging can be of lots of things, u can rig anything to animate it. For example, if u want to animate a biped character (human character) u will need a model and u need to rig the model which means u need to add bones to the model. u need to add joints as well just like we have in our body, after adding bones u need skin the bones to the model n paint the weights properly so the movement will be smooth. After that add inverse kinematics IK to the joints which will allow u to do the humanlike movement to the models leg.
The most common deformer is a skeleton of bones or joints. A complementary skeleton might be added to the mesh, and the motion of the joints in the skeleton drives the vertices in the 3D mesh.
BRIDGE
Tentacle rigging
Simple expressions and MASH
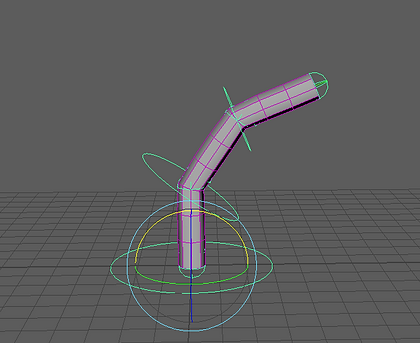


The MASH toolkit brings a powerful suite of procedural animation tools into Maya. Procedural methodologies allow for nonlinear play and experimentation, with control networks instead of traditional keyframes. With sophisticated tools for replication, animation, controlled randomness, and instancing, MASH opens up a vast new territory for motion graphics and visual effects creation. From data visualization, to 3D type, to HUD layouts and arrays of geometric objects, Mash provides a powerful, intuitive, and engaging way to create procedural animation systems directly in Maya. Learn how to incorporate MASH in your workflow in these Maya tutorials with mograph designer Scott Pagano. Scott covers the main nodes one by one, and then steps through examples with particles and dynamic 3D type. Plus, see MASH in action in more complex projects: a futuristic UI and an elaborate city animation.


JOINT CREATION
Joints Sometimes called bones,
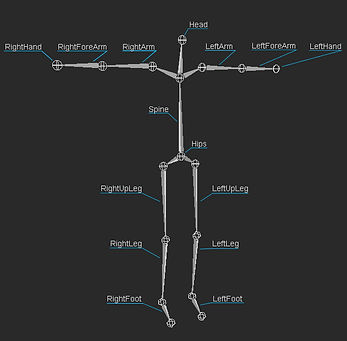
you can think of joints for rigging in the same way you think of joints in a human body. They basically work in the same way. Joints are the points of articulation you create to control the model. For instance, if you were to rig a character's arm you would want to place a joint for the upper arm, another joint for the elbow and another joint for the wrist, which allows the animator to rotate the arm in a realistic way.


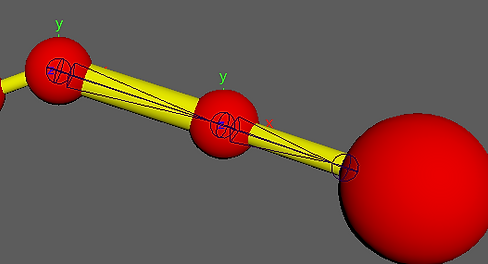


Create backbone joints on one of the gridlines. Creating joints in a straight line is one way of making sure that they are oriented in the same direction. Start at the same level as the base of the backbone then stop near the arm level. For this rig, three or four joints would do.
To make the task of rigging easier, the model should be in neutral pose? It is important for the scanning also.
A character's neutral pose is like an average of the poses that the character is in. Having the character be modeled in its neutral pose makes it easier to setup a rig that deforms the geometry well. Most often, the neutral pose is a T pose with the feet pointing forward, the elbows pointing back, and the palms turned downwards. We also want the elbows and knees to be slightly bent. This will help when we set up joints and IK handles.
Ones you did and position bones you must name it. Give bones a proper name is really important for the Hierarcy. For instance:
joints clavicleL,
shoulderL,
elbowL,
wristL,
palmL_end.
Tip:
Options for Mirror Joint.
To mirror joints, open up Skeleton > Mirror Joint .... Set Mirror Acrossto be the plane of symmetry for your character and keep Mirror Function set to Behavior.


SKINNING
Skin > Edit Smooth Skin > Paint Skin Weights tool.
So we have the type of brush, we have the Radius of the brush, so we can make that bigger or smaller, or if you hold down the B key on the keyboard you can scale that interactively.
And then, what do we want to paint, Skin Weight. And then down here we have which bone or which joint is affecting the skin weights.
Now below this, we have several different modes. Do we want to Paint, do we want Select, or do we want Paint Select? Typically, we will keep this on Paint. And then when we paint, what are we painting? Are we replacing with this value here? Are we adding this value to the existing or are we smoothing or scaling?


Skinning is the process of binding a modeled surface to a skeleton. You can bind any model to its skeleton using skinning, or you can model over a pre-existing skeleton to create its skin. When a model is bound to a skeleton using skinning, it then follows or reacts to the transformations of the skeleton’s joints and bones. For example, if you bind a model’s arm to its underlying skeleton using skinning, rotating the elbow joints causes the skin at the elbow to crease and pucker.
There are three types of skinning in Autodesk® Maya®: smooth skinning, rigid skinning, and indirect skinning.
With smooth skinning, you can create smooth, articulated deformation effects. Smooth skinning specifies that multiple joints and other influence objects can have varying influences on the same points (CVs, vertices, or lattice points) on a model.
The binding method you choose determines how initial influence weights are set on the smooth skin points as you bind skin.
The effect of each Bind method is illustrated in this topic with the Paint Skin Weights tool, where the strongest influence is shown in white. As the effect of the bind diminishes, the influence area fades to yellow and then red. From red, the falloff color becomes black, showing the areas least affected by the bind. See Use Paint Skin Weights tool to test skin binding.
The Paint Skin Weights Tool Color Ramp used to show the effects of the binding on the shoulder joint.

RIGGING CONTROL
Once you have some basic IK handles in place, you can certainly use those to animate, but we're going to make it a little bit easier and create some additional controls for the feet to allow you to manipulate those a lot more easily, and this will make it nice and animator friendly.
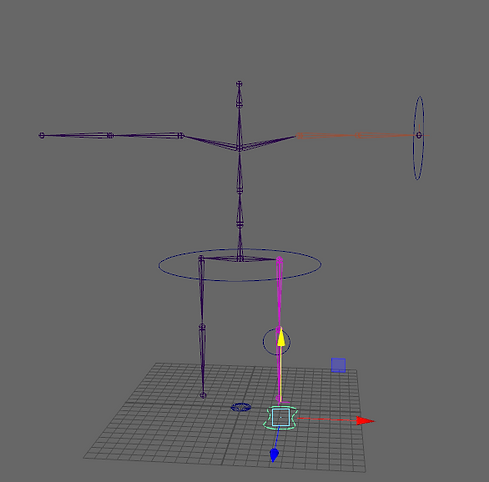
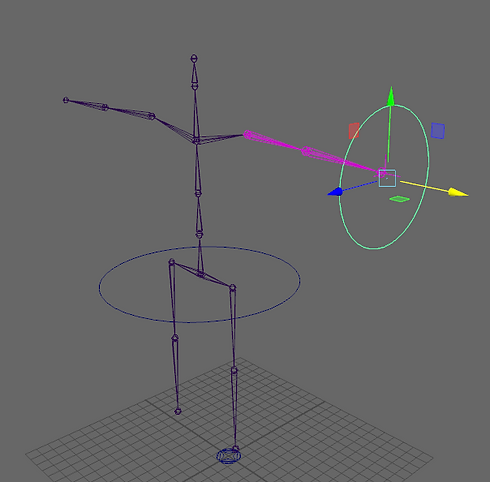
When setting up controls in general, have an idea of the controls that an animator would need for animating the various parts of the character (according to what's required by the desired motion).
It is awlais a good practise to keep things organized and simple. To keep things tidy we want to do a naming scheme. Clean, descriptive name.
Another thing you can do is to start layering your rig, so create a separate layer for your rig. So, we can do that by selecting and Shift +Selecting the right and the left foot, go into Layers > Create Layer from Selected.
Once we have a layer we can turn on and off for rigging controls. Another way to stay organized is by using color. We can separate out left and right by color, so that way you know looking at a left or right foot, or right arm, etc.


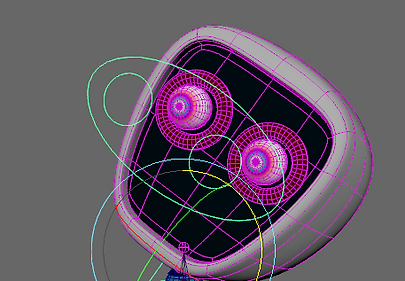
MASH network
MASH was brought under the Autodesk umbrella in 2016, and positioned Maya as a viable alternative to Cinema 4D for motion graphics. Using a pallet of different procedural and dynamic nodes MASH gives artists the ability to create massively complex meshes from very few inputs.
The MASH toolkit brings a powerful suite of procedural animation tools into Maya 2016. Procedural methodologies allow for nonlinear play and experimentation, with control networks instead of traditional keyframes. With sophisticated tools for replication, animation, controlled randomness, and instancing, MASH opens up a vast new territory for motion graphics and visual effects creation. From data visualization, to 3D type, to HUD layouts and arrays of geometric objects, Mash provides a powerful, intuitive, and engaging way to create procedural animation systems directly in Maya.


Impressively, MASH can easily push lots of objects with dynamics, and is quite responsive. Simple setups can playback interactively and in real time. Ian talks through many of the features of MASH dynamics, including some of the really neat things you can do with constraints, like telling MASH to add constraints after objects or dynamics have been created. This can lead to some really insane MASH dynamics simulations. Really cool!
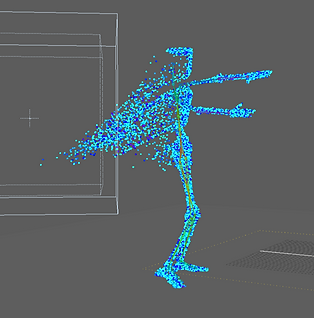
DISPLASEMENT EFFECT



SNAKE
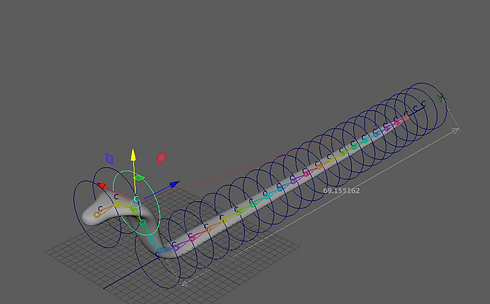


WORK IN PROGRESS...
OLIPHANT PRJ
Oliphant Spine and Hips Setup
I have built a simple FK spine that can be animated by rotating the joints.
As you can see the spine is composed of only six joints, with animation controls hooked up for them.

The important part to notice in this portion of the setup is not really the spine itself, but the way the joints that create the spine are parents of the legs. The portion of the character's joints that starts the legs has an extra joint between the parent leg joint and the spine joint it is connected to. In the back of the character, this joint controls extra rotations of the hips. In the front, it controls extra rotations of the chest.

Quadruped IK Legs and Feet
The legs of the character are composed of four joints, stemming from the hips and the chest. The foot is a single joint that allows for rotation from the ankle.
To make the IK controls for the legs, we created tree IK handles for a single leg. And controls for the knees movements.

For many characters, a simple setup is all we need. As a general rule, it is best to keep rigs as light and simple as possible so that they are easy to use and maintain throughout the duration of the animated piece.
