
The Bullet plug-in automatically installs with Maya. Before using the Bullet for the first time, you need to load the plug-in using the Plug-in Manager. To do this:
-
Start Maya.
-
Select Window > Settings/Preferences > Plug-in Manager.
The Plug-in Manager opens.
-
Locate bullet.mll and turn on Loaded. To load the plug-in automatically every time you start Maya, turn on Auto load.
-
Click Close.


The Bullet physics engine lets you create large-scale, highly-realistic dynamic and kinematic simulations. You can use Bullet to create content for rendered animations for film and visualization, as well as for the setup of game engine and real-time simulations.


First thing first - it is IMPORTANT to understand scale in Bullet simulation. Until Maya scale is (default one) in centimetres - one grid is 1 cm. Bullet scale is different one grid is 1 meter.

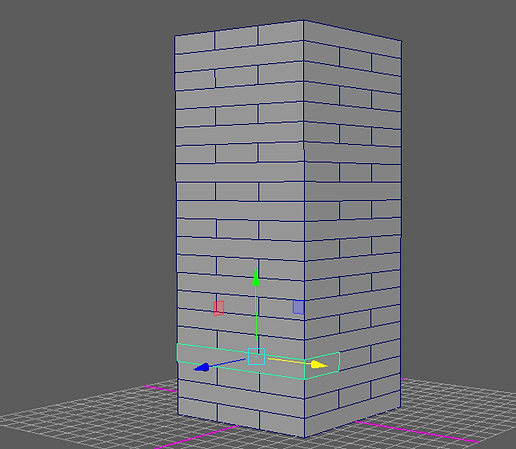

You can specify the rigid body type by setting Body Type in the Create Rigid Body Optionwindow or in the Rigid Body Properties section of the bulletRigidBodyShape node Attribute Editor. In Bullet, Dynamic rigid bodies are often referred to as active rigid bodies while Kinematic and Static rigid bodies are also known as passive rigid bodies.
There are three types of Bullet rigid bodies:
-
Dynamic rigid bodies (Body Type > Dynamic Rigid Body) are fully simulated physics objects. This type is the most performance intensive rigid body. By default, all rigid bodies are created as Dynamic rigid bodies.
-
Kinematic rigid bodies (Body Type > Kinematic Rigid Body) can be animated during the physics simulation, but they are not affected by the simulation itself. Because kinematic bodies can be moved, the Bullet physics simulation spends more time updating kinematic rigid bodies than static rigid bodies.
-
Static rigid bodies (Body Type > Static Body) do not move during the physics simulation. The Bullet physics simulation can optimize how it updates static rigid bodies in the scene since it knows their positions remain fixed between frames.

To create a rigid body, select Bullet > Create Active Rigid Body .
After creating an active rigid body, you can still change the rigid body's initial position and orientation with Maya’s Move and Rotate tools if the current time is the same as the Bullet Solver's start time. If the current time is not the same as the Solver's start time, changes to the rigid body position and orientation are ignored when the time changes. Maya automatically detects and stores the new position and orientation as the initial state.
If a mesh is selected when Create Active Rigid Body is selected, the rigid body is associated with the mesh using the mesh's convex hull as its default collider. If no mesh is selected, a rigid body is created using a box as its default collider shape. You can change the rigid body type by editing the Body Type attribute in the Rigid Body Propertiessection of the bulletRigidBodyShape node Attribute Editor. You can also change the default settings used when creating new rigid bodies by clicking on the option box to the right of the Bullet menu entry.
You can animate the rigid body type and its transformation. When the Body Type attribute is set to Kinematic Rigid Body, you can set keys for the rigid body's Transform attributes. Keyed transformations have no effect when Body Type is set to Dynamic Rigid Body.
Body Type
Choose from three body types:
-
Static Body: does not move
-
Kinematic RigidBody: hand-animatable
-
Dynamic RigidBody: moved by rigid body system after initial position set.
nCLOTH
nCloth is generated from modeled polygon meshes. You can model any type of polygon mesh and make it an nCloth object, which is ideal for achieving specific poses and maintaining directorial control.nCloth is composed of a network of many particles connected by many links, that together create a dynamic mesh. Within this network, there are also cross links that further connect the particles. Links maintain the distance between particles, and cross links maintain the angles between links, stabilizing the nCloth and preventing cloth behavior like shearing. nCloth object properties determine the physical characteristics of the cloth. These properties affect how the cloth behaves when it moves and interacts with other objects. There are six types of properties you can adjust: Collisions properties (including Collisions Properties Maps), Dynamic Properties (including Dynamic Properties Maps), Force Field Generation properties (including Force Field Maps), Wind Field properties, Quality Settings properties, and Pressure properties.


You can create a Transform constraint to hold specific nCloth components in place or move them through XYZ space. For example, you can make a Transform constrained nCloth follow its animated passive object through its scene by parenting its Transform constraint locator to the passive object.
To create an nCloth Transform constraint
-
In the scene view, select the nCloth object or nCloth components (vertices, edges, or faces) you want to constrain.
If you select edges or faces, then all their vertices will be Transform constrained.
-
In the FX menu set, select nConstraint > Transform Constraint > .
The Create Transform Constraint Options Box window appears.
-
(Optional) Turn on Use Sets to add all the selected nCloth object’s components, or only the nCloth components you selected, to a dynamic constraint selection set.
-
Click Create Constraint or Apply.
The nCloth object or components you selected are now constrained to their current positions in XYZ space, and a Transform constraint locator is created for the selected nCloth object or components.


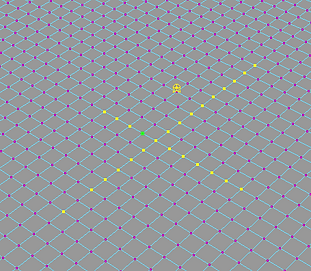
PARTICLES
nParticles
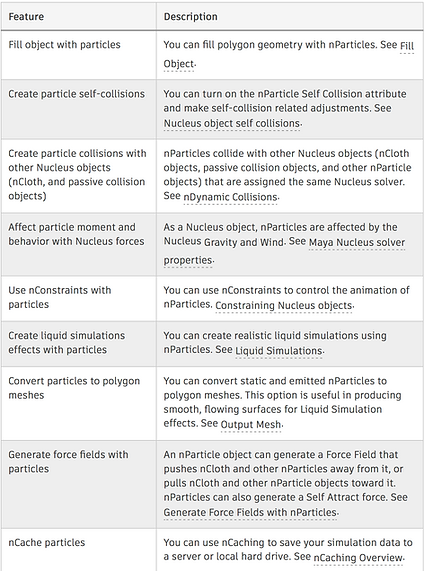
nParticles is a particle generation system that uses Maya® Nucleus™, the same dynamic simulation framework that generates nCloth simulations. An nParticle object can collide and interact with other nParticle objects, as well as with nCloth and passive collision objects. For collisions to occur, all participating objects must be assigned to the same Nucleus solver (nucleus node). As a Nucleus object, nParticles support nConstraints and respond to the internal forces generated by Nucleus solvers.
Nucleus dynamics allow users to create particle effects and dynamic simulations that cannot be achieved with Maya classic particles. For example, Liquid Simulation attributes allow you to create particles that behave like liquids, which can interact and drive nCloth animations and deformations. Maya nParticles also include an improved workflow for setting per-particle attributes using ramps, and expands the number of properties and options that can be mapped to per-particle attributes.
nParticles use the classic particle render types, including points, streaks, and blobby surfaces, and can be used in place of Maya classic particles for particle goals, geometry instancing, and sprite effects. nParticles does not replace Maya classic particles. In some instances, you may choose to use Maya classic particles instead of nParticles, especially if your particle effect requires a very high particle count and does not require nParticles’ advanced simulation features.




MAYA Fluids


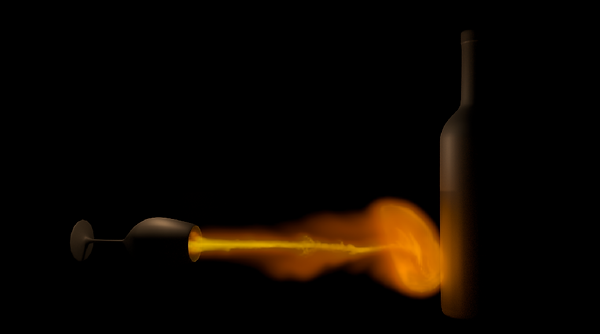

Bifrost wine


Wine abstract


